
If Xhorse Multi Prog shows no device connected, don’t worry. You may need to install driver manually.

The driver installation guide is for Windows 7 operating system. Windows 10 will automatically install device driver.
First of all, connect multi-prog with laptop via USB cable.


Then power on multi prog.
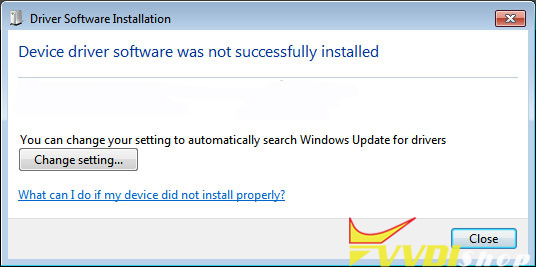
If windows says device driver software was not successfully installed, go to device manager, check device status.

You can see Multi-prog device is not connected (yellow exclamation mark)。

Run xhorse multi prog software. Go to Help tag->Install driver

Press Yes to allow Zadig to check for application updates online.

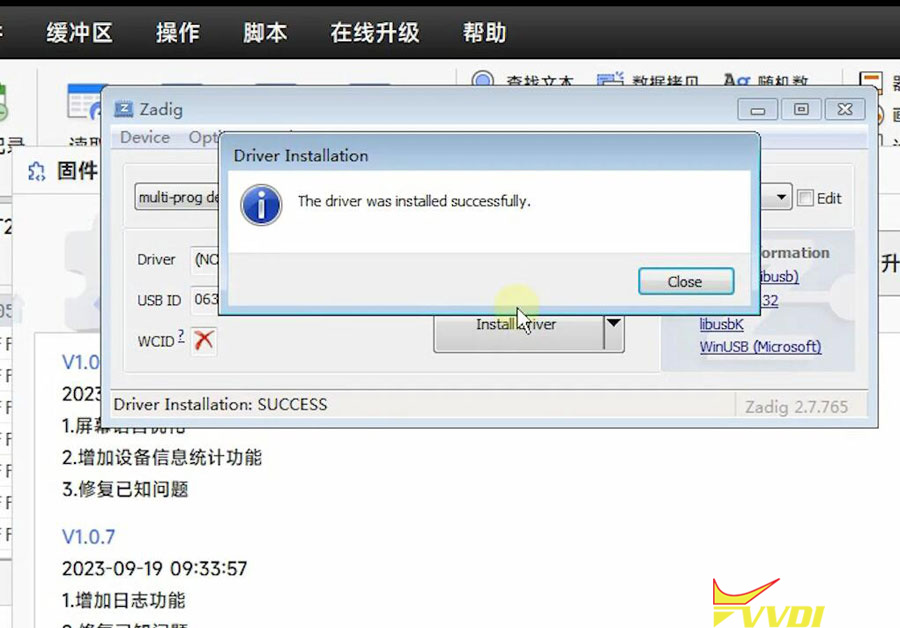
This brings Zadig diaglog. It will show multi-prog device name.

If it does not show device name, need to unplug or change USB port, then plug USB cable again.

Then choose device type as USB Serial (CDC), press Install Driver

The driver was installed successfully.

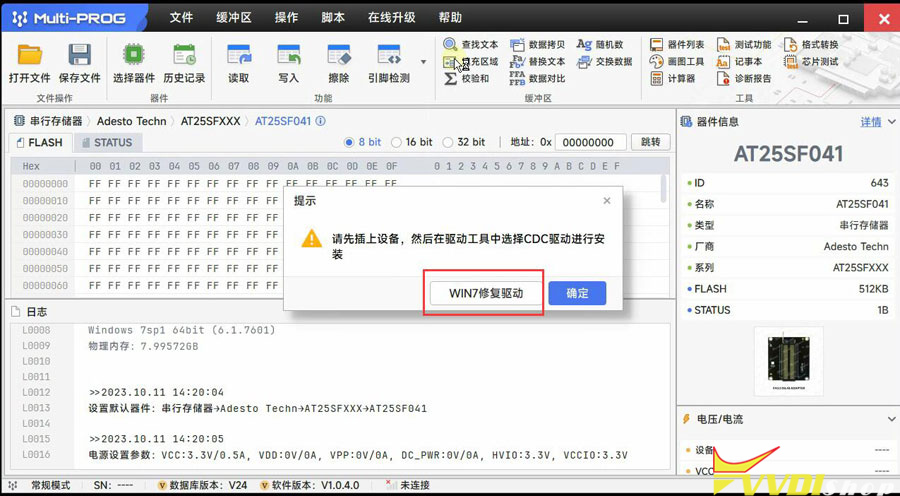
If device still not connects, run Win7 Fix driver. It should be fine.

Done.
No comments:
Post a Comment
Note: Only a member of this blog may post a comment.