Showing posts with label Xhorse Multi Prog. Show all posts

9/24/2026

Read 2018 BMW B38 DME with Xhorse Multi Prog

This article provides a step-by-step overview of reading the engine control module from a 2018 BMW X1 equipped with the B38 engine (Bosch MG1CS201 TC298TP), using the Xhorse Multi Prog programmer.


Before You Begin: Identification Is Everything

Before starting any operation, it is critical to identify the exact ECU part number and software version. Different Bosch ECUs may require different connection methods, pinouts, and reading procedures. Skipping this step can lead to failed communication or, worse, corrupted data.


Step 1: Remove the ECU from the Vehicle

The first step is to remove the ECU from the vehicle and inspect it carefully for damage or previous repairs. Always disconnect the vehicle battery before removing the control module. Once the ECU has been removed, clean the housing and verify the identification labels. Careful inspection at this stage can reveal hidden issues that might affect the reading process.


Step 2: Prepare the Multi Prog Tool

Next, prepare the MultiProg programming tool and make sure the software is updated to the latest available version. Open the software and select the correct Bosch ECU family from the database. Double-check all information before proceeding.

Read 2018 BMW B38 DME with Xhorse Multi Prog 1
Step 3: Determine the Correct Connection Method

Depending on the ECU version, the reading process may require bench mode or direct connection to the printed circuit board after opening the control unit. Follow the official connection diagram provided by the programmer software. Ensure that power supply voltage is stable and that all communication lines are connected correctly.

A regulated power supply is strongly recommended. Voltage fluctuations during a reading operation can lead to communication errors and may corrupt the data. Before applying power, verify every connection one more time.

Read 2018 BMW B38 DME with Xhorse Multi Prog 2
Read 2018 BMW B38 DME with Xhorse Multi Prog 3
Read 2018 BMW B38 DME with Xhorse Multi Prog 4

Step 4: Establish Communication and Read the ECU

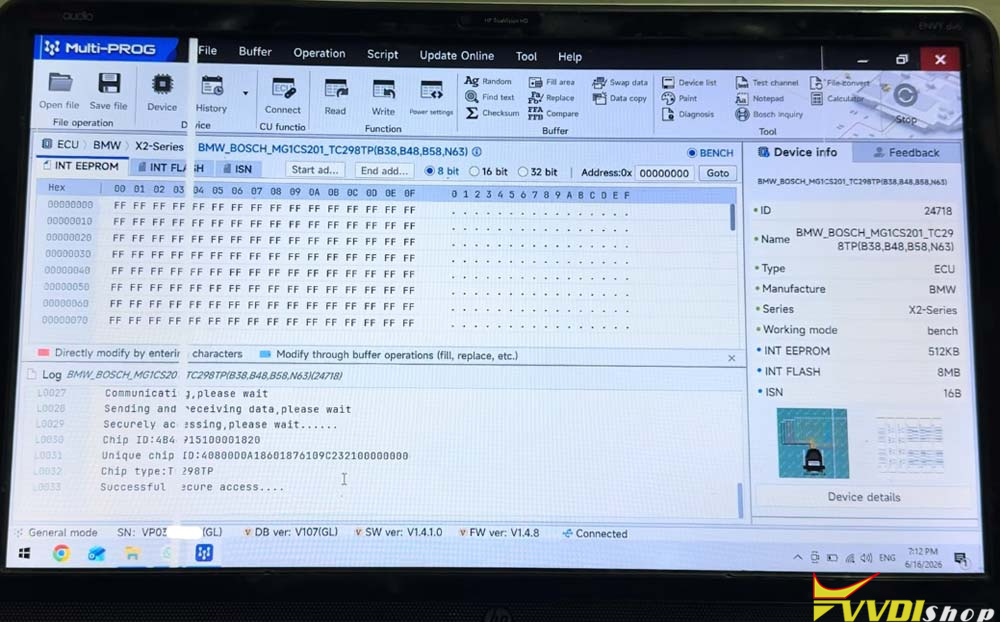
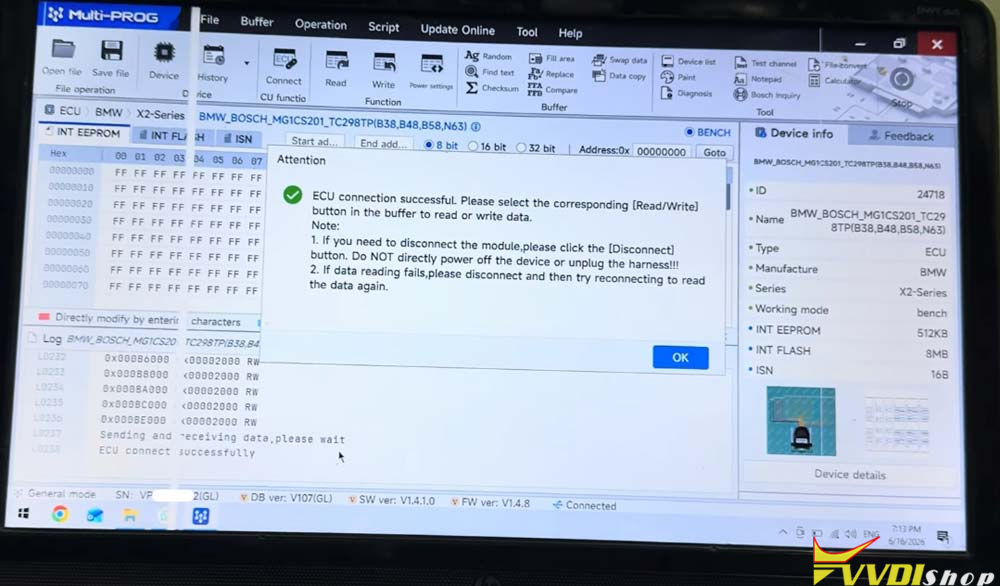
Once the wiring has been confirmed, power on the ECU and establish communication through Multi Prog. The software should recognize the control unit and display identification information such as hardware number, software number, and calibration data.

At this stage, perform a full backup read whenever the option is available. Creating a complete backup before any modification is considered best practice. Store the backup files in a secure location and create additional copies if necessary.

Read 2018 BMW B38 DME with Xhorse Multi Prog 5

Read 2018 BMW B38 DME with Xhorse Multi Prog 6

Step 5: Monitor the Reading Process

During the reading process, do not disconnect power, USB cables, or communication lines. Interrupting the operation may result in incomplete data acquisition. Monitor the progress bar and wait until the software confirms successful completion.

Read eeprom.

Read flash.

Read ISN code.

Read 2018 BMW B38 DME with Xhorse Multi Prog 7

Read 2018 BMW B38 DME with Xhorse Multi Prog 8

Step 6: Save and Verify Your Files

After the read is finished, save all files with clear names that include the vehicle model, engine type, ECU number, and date. Proper file organization makes future diagnostics and recovery procedures much easier.

It is also recommended to verify the saved data using the software’s built-in validation functions, if available. Confirm that the file size and read status match the expected values for that ECU type.

9/18/2026

Xhorse Multi Prog Repair BMW G12 Tail Light Data

On this BMW G12, the right tail light was completely black. The fault was in the tail light data, so instead of replacing the lamp, I opened the unit and repaired the MCU data with the Xhorse Muti-Prog Programmer.


Remove the Tail Light

  1. Pry off the side trim beside the tail light. Remove the lower tailgate trim as well. There are two hidden screws inside; the rest is held by clips.
  2. Remove the six screws inside the light bar and pull the light bar slightly outward.
  3. Remove the two screws behind the tail light. The complete tail light assembly can now be removed.

Xhorse Multi Prog Repair BMW G12 Tail Light Data  1

Xhorse Multi Prog Repair BMW G12 Tail Light Data  2

Open the Housing &Remove the PCB

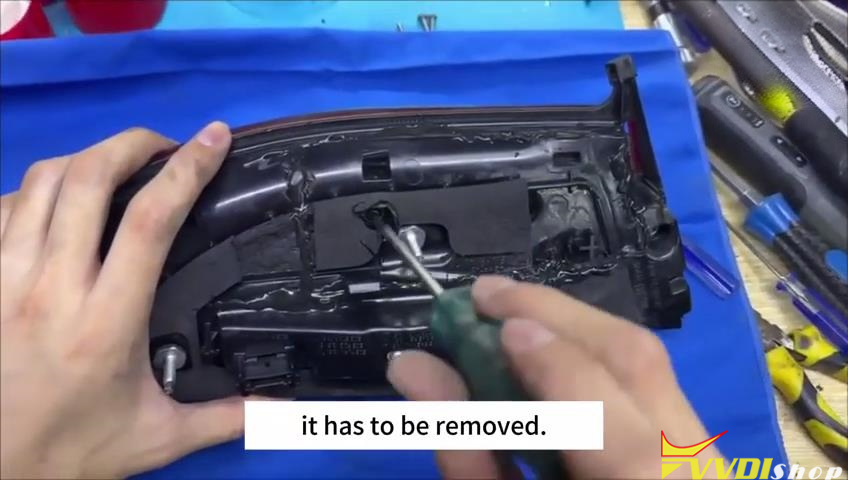
  1. This lamp had already been opened before, so I could pry it apart along the old sealant edge. On an untouched lamp, the rear cover would need to be cut along the original factory sealant line.
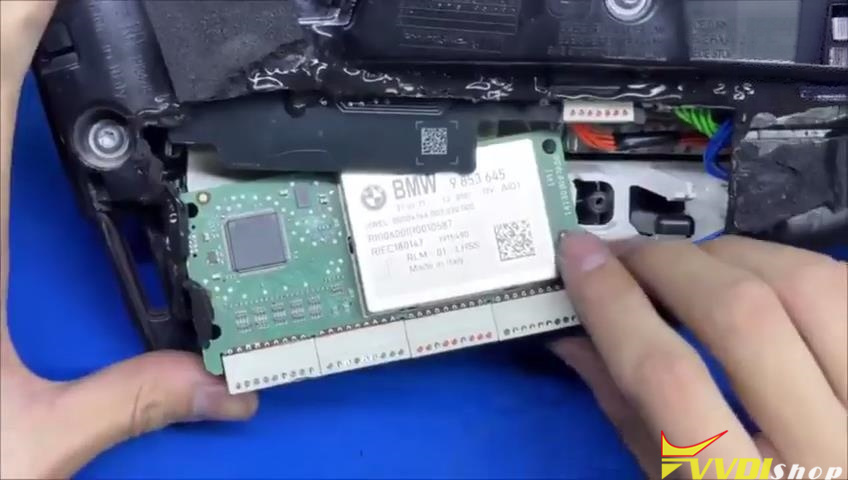
  2. Remove the housing screw. Push the two PCB clips outward and slide the PCB out.
  3. Disconnect the row of connectors from the PCB.

Xhorse Multi Prog Repair BMW G12 Tail Light Data  3

Xhorse Multi Prog Repair BMW G12 Tail Light Data  4

Wire the PCB and Flash the MCU

  1. Solder the green wire and yellow wire to the specified test points.
  2. Wire the five programming-port pins: brown to the top-row first pin, orange to the bottom-row first pin, black GND to the top-row second pin, red VCC to the bottom-row second pin, and blue to the top-row third pin.
  3. Connect the harness to the Xhorse Muti Prog and open the programming software. Select the R7F701024 MCU protocol.
  4. Read C-FLASH first and save the original corrupted data. Read D-FLASH next and save that file as well. Keep both original files backed up before writing anything.
  5. Select C-FLASH, open the repaired C-FLASH file, and click Write. Confirm the operation. Do the same with D-FLASH using the repaired D-FLASH file.

Xhorse Multi Prog Repair BMW G12 Tail Light Data  5

Xhorse Multi Prog Repair BMW G12 Tail Light Data  6

Xhorse Multi Prog Repair BMW G12 Tail Light Data  7

Xhorse Multi Prog Repair BMW G12 Tail Light Data  8

Xhorse Multi Prog Repair BMW G12 Tail Light Data  9

Xhorse Multi Prog Repair BMW G12 Tail Light Data  10

Xhorse Multi Prog Repair BMW G12 Tail Light Data  11

Xhorse Multi Prog Repair BMW G12 Tail Light Data  12

Reassemble and Test

  1. Once both files are written, unplug the programmer and remove all soldered wires from the PCB.
  2. Reconnect the row of connectors and slide the PCB back into the housing. Lock both side clips in place, refit the rear cover, and tighten the screw.
  3. Install the tail light on the vehicle and reconnect the tail light connector.


The tail light is back on. Repair completed successfully.

Xhorse Multi Prog Repair BMW G12 Tail Light Data  13

Xhorse Multi Prog Repair BMW G12 Tail Light Data  14

www.vvdishop.com

9/10/2026

Xhorse Multi Prog Read Geely Coolray 2024 Cluster

It’s a 2024 Geely Coolray, and I need to correct the mileage.

The panel looks like this:

Xhorse Multi Prog Read Geely Coolray 2024 Cluster 1

First, remove the instrument panel. To do this, pull the visor up with one sharp movement, unscrew the 12 screws, and then remove the panel. The rear panel cover is secured with clips and 4 screws.

Xhorse Multi Prog Read Geely Coolray 2024 Cluster 2

Xhorse Multi Prog Read Geely Coolray 2024 Cluster 3

EEPROM chip which contains the mileage.


We read the m24c08 microcircuit using any convenient programmer, but it’s necessary to desolder it; you can make a mess with a clothespin.

Let’s remove the dash panel, lower the fuse box, and unscrew the four BCM mounting bolts. It’s on the left pillar at the top of the front; it contains a bunch of components. Removing it is very inconvenient. Next, we need to find something to read it with. There’s no EEPROM there; all the information is stored in the processor. The Xhorse Multi Prog programmer helped us with this. The connection is easy, but you’ll need to be handy with a soldering iron.

Xhorse Multi Prog Read Geely Coolray 2024 Cluster 4

We read it, sent it to the same programmer, uploaded it back to the BCM, and then re-entered it into the instrument cluster.
I put it back together, and bingo! The mileage is exactly what I needed. I ran the auto launcher through the modules, and the transmission included the mileage from the BCM. I didn’t see any digital mileage in the other modules, so that was it.

9/09/2026

Xhorse Multi Prog Read Land rover Airbag AH22-14D374-AH

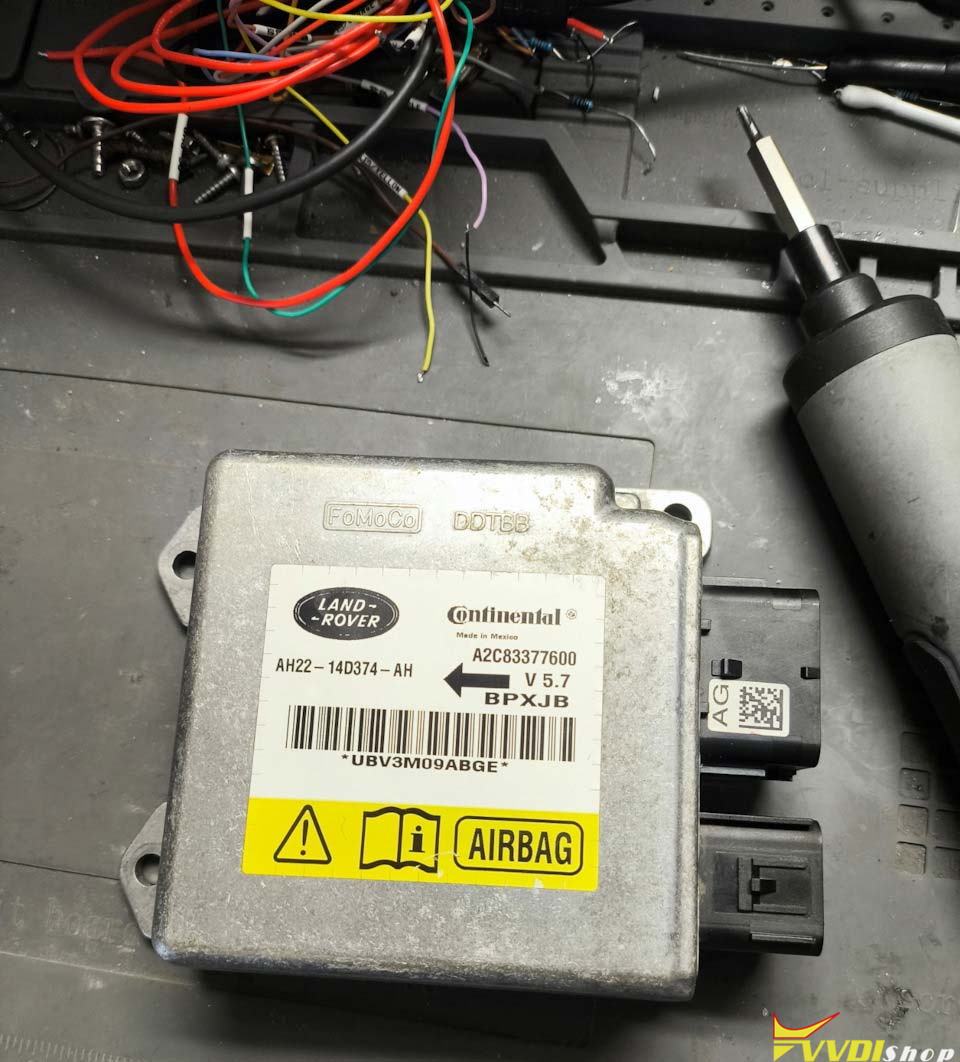
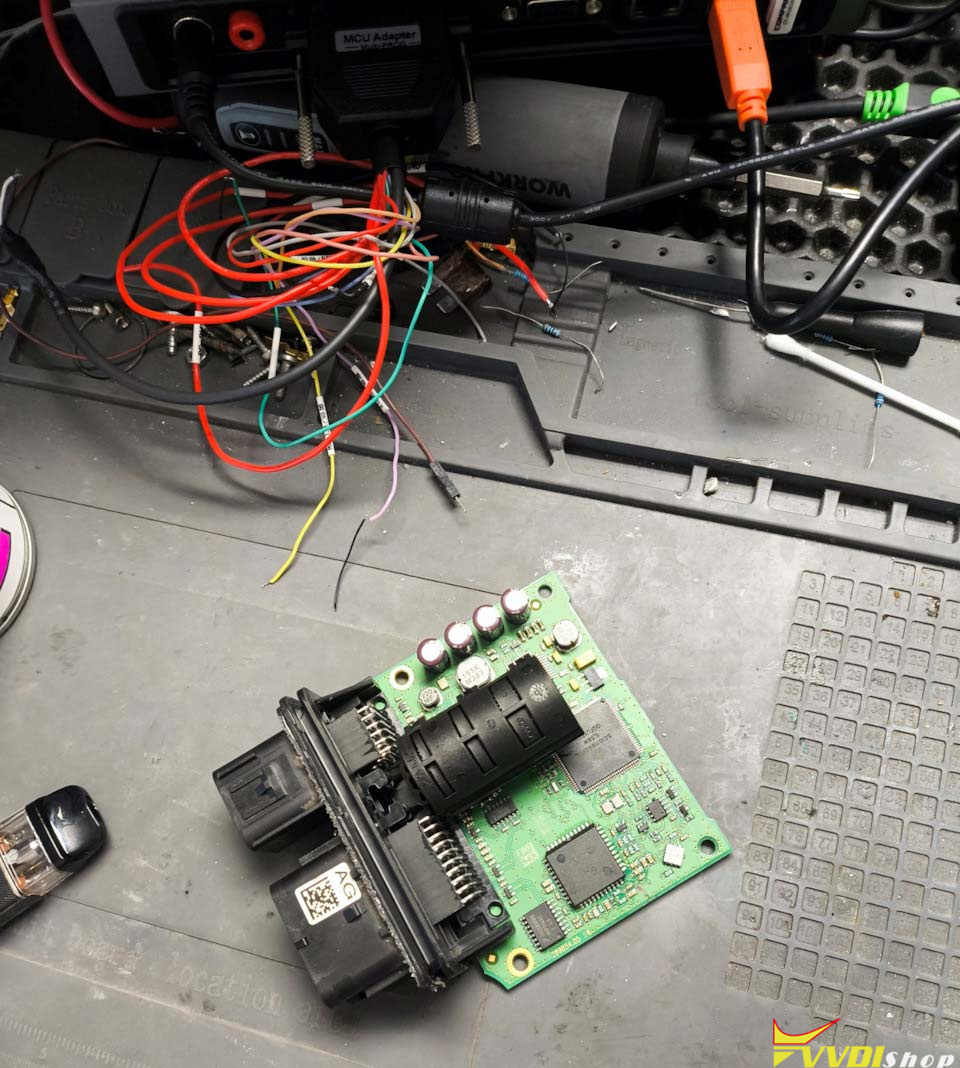
The Land rover airbag SRS Continental control unit is A2C83377600 AH22-14D374-AH. It does not have an external EEPROM, so you will have to read the processor itself.

xhorse multi prog land rover srs 1

Continental A2C83377600 AH22-14D374-AH


The module was read using the Xhorse multi prog programmer, which has a convenient connection diagram without soldering to the processor pins, and then it’s just a matter of technique.

xhorse multi prog land rover srs 2

xhorse multi prog land rover srs 3

We read the flash and EEPROM of the processor.

We loaded the EEPROM dump into the RomarioCalcs calculator for the Orange5 programmer. Calc cleaned everything up, and then re-wrote the corrected dump. The collision error disappeared, and the unit started working normally.


9/07/2026

Does Xhorse Multi Prog Read PSA SID803 via OBD?

Question:

​I have a Citroën C4 2.0 HDI with Siemens SID803 ECU (not SID803A), and in the Xhorse Multi-PROG software, this specific ECU is only listed under OBD mode for reading MAPS.
​Since this is only a partial read, is it safe to flash an EGR, Stage1, file via OBD with this tool?

Does Xhorse Multi Prog Read PSA SID803 via OBD

Solution:

OBD mode you can just read and write maps. Not full data.

To read full micro eeprom and flash you need to open it and read it in BDM mode.

One of our cutsomers has already cloned one like this just by opening it in bdm.

In sid803 need read in bdm and modify egr in micro not in flash.

For OBD you need ioTerminal.

9/03/2026

Xhorse Multi Prog Current Version Lower than Minimum Version?

Problem:

Had a problem updating Xhorse Multi Prog programmer.  It said the current firmware version is lower than the minimum supported version V1.4.9.
Tried to update the firmware but failed. Any solution?

Xhorse Multi Prog Current Version Lower than Minimum Version 1

Solution:

Do a forced update.
Press and hold the RST button while turning on the power, and keep holding it for 5seconds after turning on the power.

Then Release. To see if the device can go into the firmware upgrade mode.

 Xhorse Multi Prog Current Version Lower than Minimum Version 2

 Xhorse Multi Prog Current Version Lower than Minimum Version 3

 Xhorse Multi Prog Current Version Lower than Minimum Version 4