
This article provides a step-by-step overview of reading the engine control module from a 2018 BMW X1 equipped with the B38 engine (Bosch MG1CS201 TC298TP), using the Xhorse Multi Prog programmer.
Before You Begin: Identification Is Everything
Before starting any operation, it is critical to identify the exact ECU part number and software version. Different Bosch ECUs may require different connection methods, pinouts, and reading procedures. Skipping this step can lead to failed communication or, worse, corrupted data.
Step 1: Remove the ECU from the Vehicle
The first step is to remove the ECU from the vehicle and inspect it carefully for damage or previous repairs. Always disconnect the vehicle battery before removing the control module. Once the ECU has been removed, clean the housing and verify the identification labels. Careful inspection at this stage can reveal hidden issues that might affect the reading process.
Step 2: Prepare the Multi Prog Tool
Next, prepare the MultiProg programming tool and make sure the software is updated to the latest available version. Open the software and select the correct Bosch ECU family from the database. Double-check all information before proceeding.

Step 3: Determine the Correct Connection Method
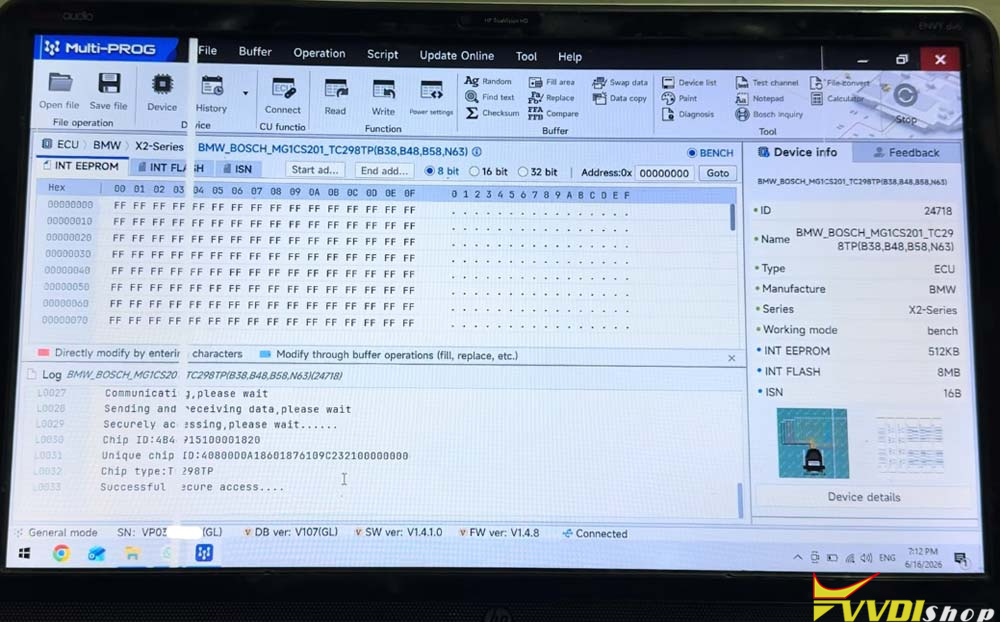
Depending on the ECU version, the reading process may require bench mode or direct connection to the printed circuit board after opening the control unit. Follow the official connection diagram provided by the programmer software. Ensure that power supply voltage is stable and that all communication lines are connected correctly.
A regulated power supply is strongly recommended. Voltage fluctuations during a reading operation can lead to communication errors and may corrupt the data. Before applying power, verify every connection one more time.


Step 4: Establish Communication and Read the ECU
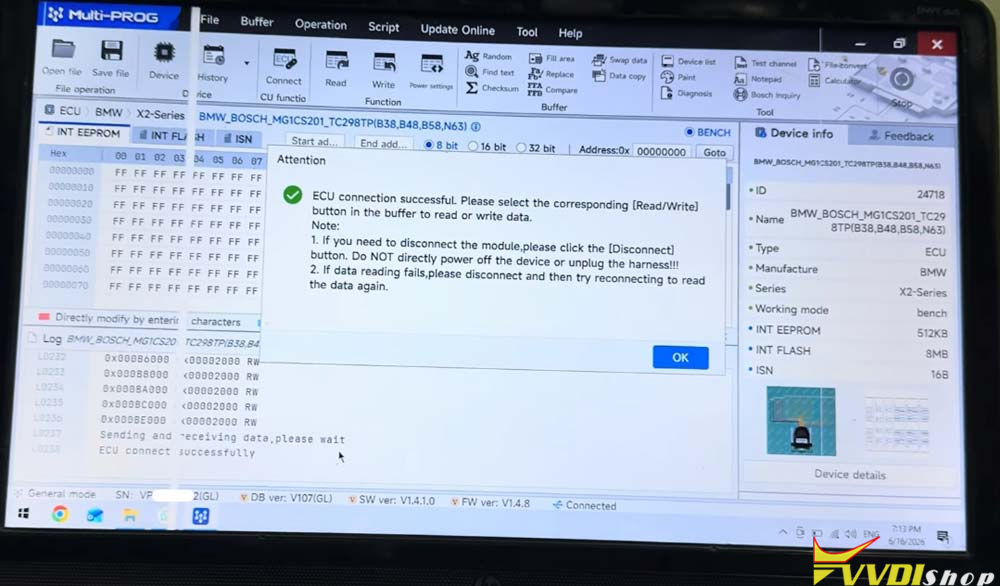
Once the wiring has been confirmed, power on the ECU and establish communication through Multi Prog. The software should recognize the control unit and display identification information such as hardware number, software number, and calibration data.
At this stage, perform a full backup read whenever the option is available. Creating a complete backup before any modification is considered best practice. Store the backup files in a secure location and create additional copies if necessary.


Step 5: Monitor the Reading Process
During the reading process, do not disconnect power, USB cables, or communication lines. Interrupting the operation may result in incomplete data acquisition. Monitor the progress bar and wait until the software confirms successful completion.
Read eeprom.
Read flash.
Read ISN code.


Step 6: Save and Verify Your Files
After the read is finished, save all files with clear names that include the vehicle model, engine type, ECU number, and date. Proper file organization makes future diagnostics and recovery procedures much easier.
It is also recommended to verify the saved data using the software’s built-in validation functions, if available. Confirm that the file size and read status match the expected values for that ECU type.

No comments:
Post a Comment
Note: Only a member of this blog may post a comment.