
On this BMW G12, the right tail light was completely black. The fault was in the tail light data, so instead of replacing the lamp, I opened the unit and repaired the MCU data with the Xhorse Muti-Prog Programmer.
Remove the Tail Light
- Pry off the side trim beside the tail light. Remove the lower tailgate trim as well. There are two hidden screws inside; the rest is held by clips.
- Remove the six screws inside the light bar and pull the light bar slightly outward.
- Remove the two screws behind the tail light. The complete tail light assembly can now be removed.


Open the Housing &Remove the PCB
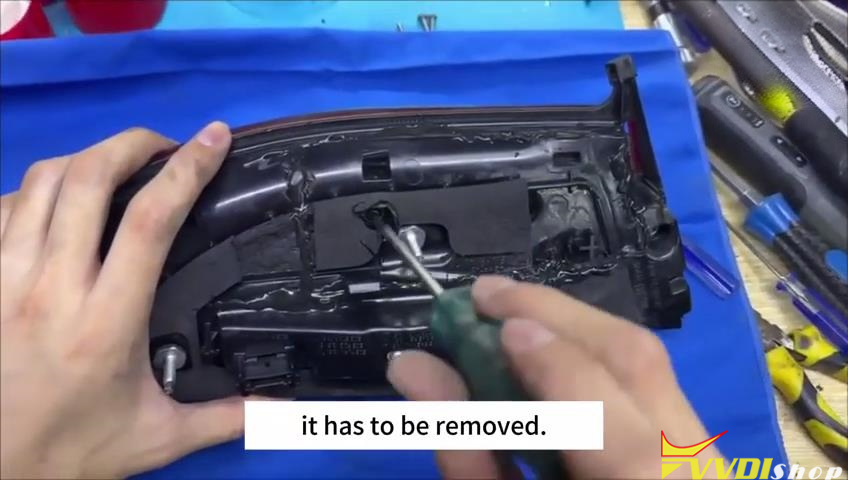
- This lamp had already been opened before, so I could pry it apart along the old sealant edge. On an untouched lamp, the rear cover would need to be cut along the original factory sealant line.
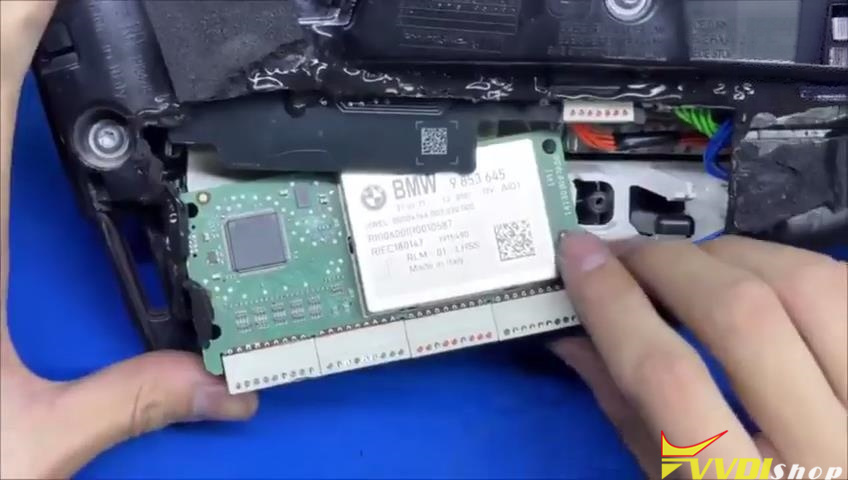
- Remove the housing screw. Push the two PCB clips outward and slide the PCB out.
- Disconnect the row of connectors from the PCB.


Wire the PCB and Flash the MCU
- Solder the green wire and yellow wire to the specified test points.
- Wire the five programming-port pins: brown to the top-row first pin, orange to the bottom-row first pin, black GND to the top-row second pin, red VCC to the bottom-row second pin, and blue to the top-row third pin.
- Connect the harness to the Xhorse Muti Prog and open the programming software. Select the R7F701024 MCU protocol.
- Read C-FLASH first and save the original corrupted data. Read D-FLASH next and save that file as well. Keep both original files backed up before writing anything.
- Select C-FLASH, open the repaired C-FLASH file, and click Write. Confirm the operation. Do the same with D-FLASH using the repaired D-FLASH file.


Reassemble and Test
- Once both files are written, unplug the programmer and remove all soldered wires from the PCB.
- Reconnect the row of connectors and slide the PCB back into the housing. Lock both side clips in place, refit the rear cover, and tighten the screw.
- Install the tail light on the vehicle and reconnect the tail light connector.
The tail light is back on. Repair completed successfully.


No comments:
Post a Comment
Note: Only a member of this blog may post a comment.