
If you work with Toyota smart keys and remote generation, you may have recently noticed a significant change in the hardware being shipped by Xhorse. The new stock of XKTO series Toyota remotes (XKTO24EN, XKTO25EN, XKTO22EN etc.) has arrived with a Red PCB, replacing the previous Green PCB versions.
Because many users are utilizing these remotes to build modified flip keys, there has been some confusion regarding the cloning and generation process. If you are encountering a “Write Error” while trying to generate a Red PCB Toyota remote, this guide will provide the simple solution.

Green PCB vs. Red PCB: What’s the Difference?
Up until recently, the Toyota remotes used a Green PCB. The method for generating and cloning these older versions was different from the new stock. The new Red PCB remotes require a slightly different approach, particularly when it comes to how the device connects to the remote during the writing process.

The Problem: The “Write Error”
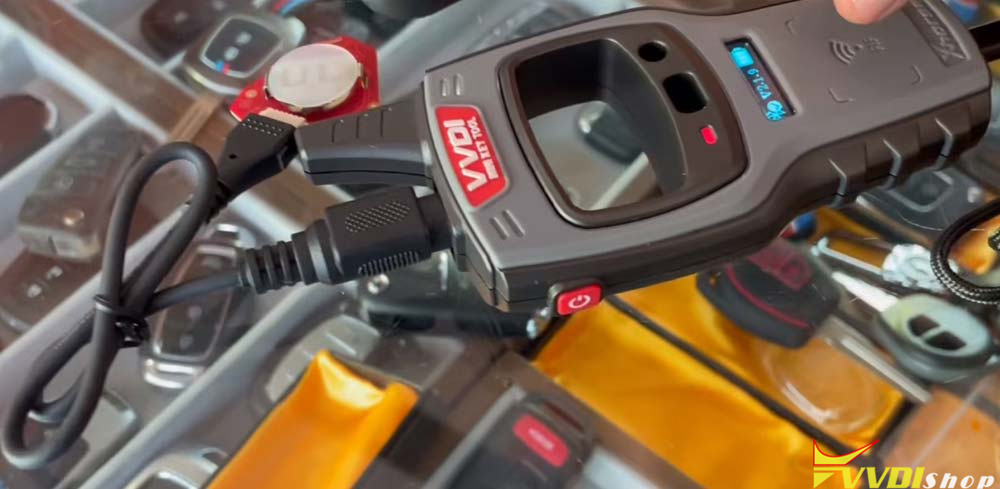
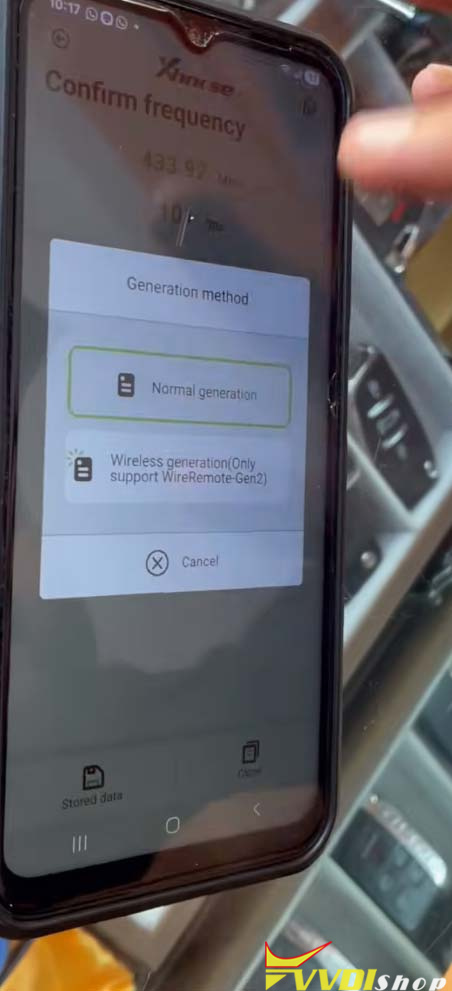
When attempting to generate a Toyota remote with a Red PCB via a wired connection, choose normal generation. many users are running into a “Write Error.”
It is important to note that this error does not appear on every single remote, but it is a common occurrence with the new Red PCB stock. If you see this error on your device (such as the VVDI Mini Key Tool), do not panic. There is a very simple workaround.


The Solution: How to Generate the Red PCB Remote
If you encounter a write error while using the wired method, follow these steps to successfully generate your remote:
Remove the Wired Connection: Disconnect the remote from the programming cable.
Insert a Battery: Place a battery into the remote. The remote needs power to communicate wirelessly.

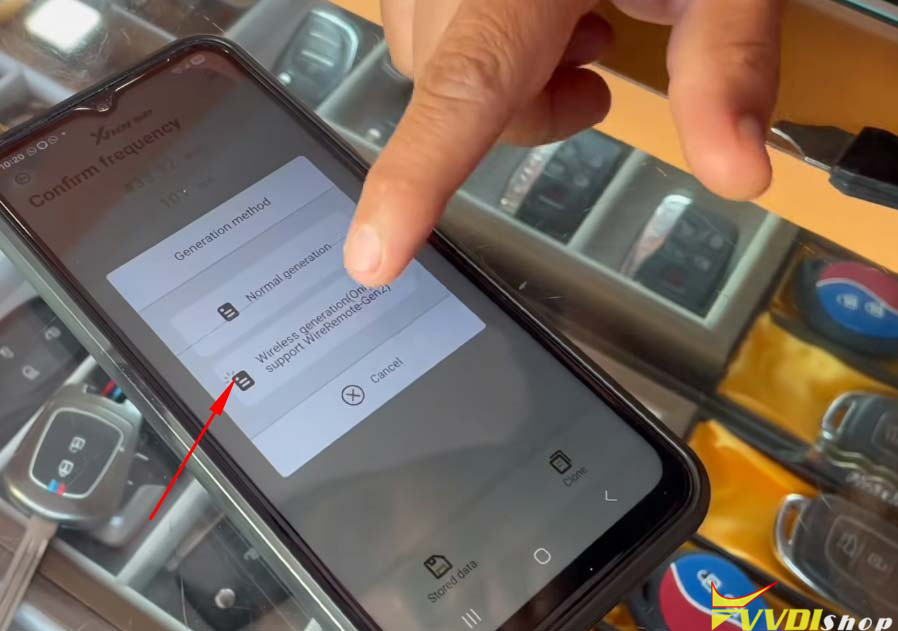
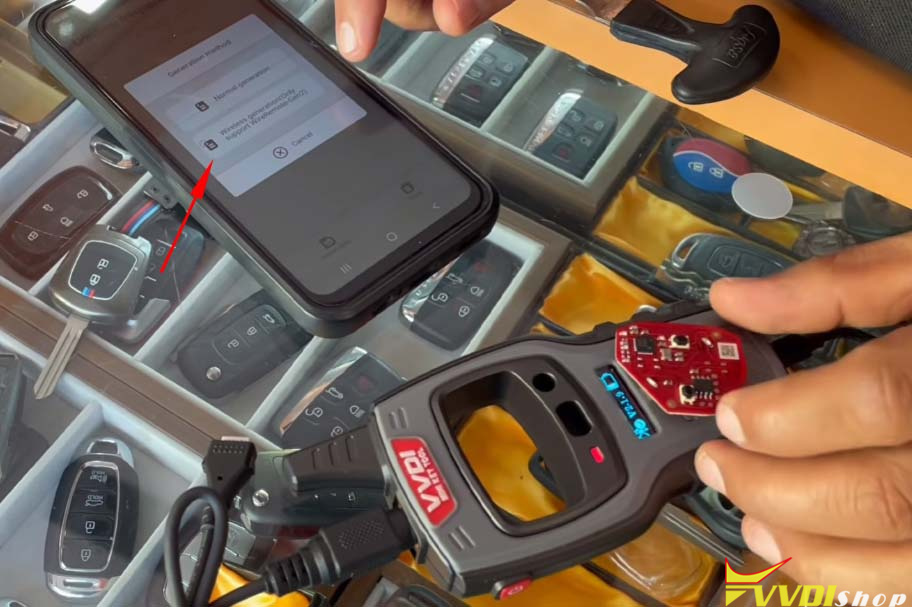
Select Wireless Generation: On your device, exit the current process and navigate to the Wireless generation Gen2 option.

Press a Button: After initiating the wireless generation, press any button (Lock or Unlock) on the remote once to wake it up and establish the connection.

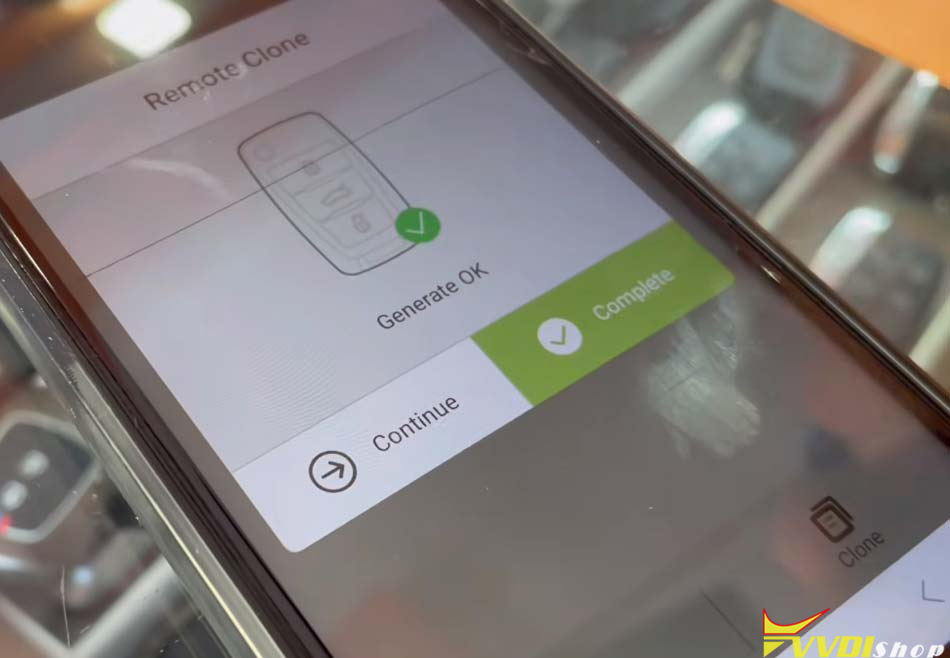
Wait for Completion: The data writing process will begin. You will see the wireless generation progress on the screen without any wires attached. Once it says “Generate OK,” the process is complete.

Conclusion
The new Xhorse Toyota Red PCB remotes offer both wired and battery-powered generation options. However, if the wired method fails and gives you a write error, simply switch to the wireless method using a battery. This procedure ensures that you can complete your Toyota Type remote generation and modified flip key builds without any hassle.
We hope this guide helps clear up any confusion regarding the new Red PCB stock!

No comments:
Post a Comment
Note: Only a member of this blog may post a comment.