
BMW CAS (Car Access System) modules are critical components that control vehicle immobilization, ignition, and key functions. When these modules fail, they can cause frustrating issues like intermittent starting problems, clicking relays, and battery drain. This guide walks through the professional process of cloning a BMW CAS3+ module using the Xhorse Multi Prog programmer, based on a detailed demonstration of the procedure.
Understanding the CAS3+ Module
The CAS3+ module can be identified by its hardware version C4. These modules are found in various BMW models including the E90 3-series, Mini vehicles, and E70 X5 models. Common failure symptoms include:
- Intermittent ignition switching
- Flickering LED indicators when keys are inserted
- Clicking relays from the dashboard area
- Inability to switch on the ignition
- Partial electrical failures
- Battery drain issues
Before beginning any cloning procedure, it’s essential to diagnose the module properly to confirm hardware failure rather than software issues.
Diagnostic Testing
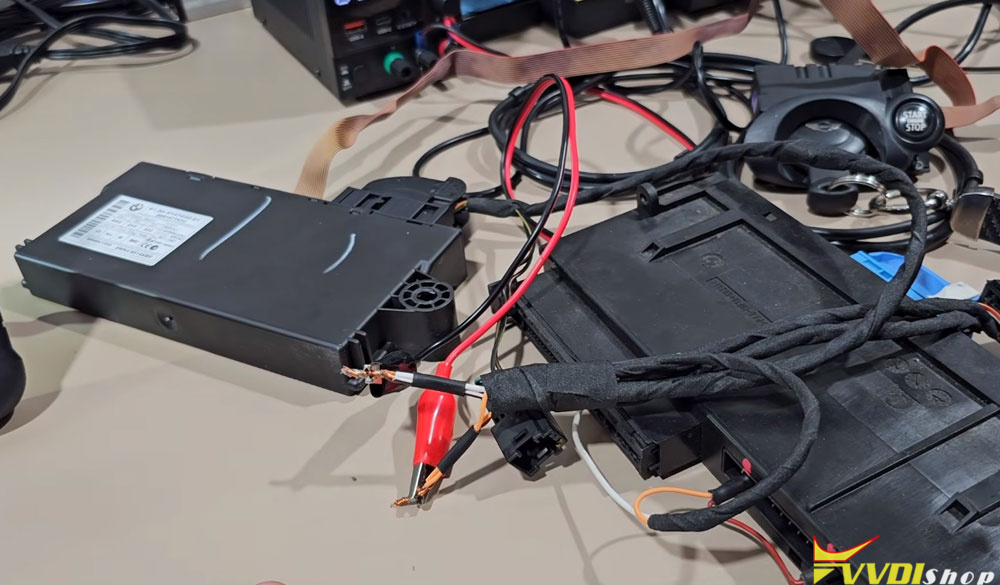
Bench Testing Setup
The first step involves setting up a proper testing environment:
- Connect the CAS module to a bench power supply at 14 volts
- Install the ignition key in the slot
- Monitor LED indicators for proper behavior
- Use diagnostic equipment/scanner with appropriate dongle
- Identifying Problems

When testing a faulty CAS module, you may observe:
- Flickering LEDs during key insertion
- Unpredictable ignition switching
- Terminal 15 output irregularities
- CAS control unit fault codes
- Oscillating voltages when testing terminals
Using diagnostic tools, you can read fault codes and data streams to confirm hardware damage. Terminal 15 outputs (one, two, and three) showing irregular behavior typically indicate internal hardware failure rather than software corruption.


Required Tools and Equipment
For this cloning procedure, you’ll need:
- Xhorse MultiProg programmer
- Xhorse XDNP11 CAS3 adapter board
- Power supply
- USB cable
- Appropriate connection cables
- Small screwdrivers for board preparation
- Microscope or magnifying glass (recommended)
- Cleaning tools for contact points
The Cloning Process
Step 1: Board Preparation
Opening the CAS module requires careful attention:
Mark the original and donor modules clearly to avoid confusion
Carefully open the CAS module housing
Access the circuit board
Identify the processor type (typically OL15Y or 2K79X)

Step 2: Cleaning Contact Points
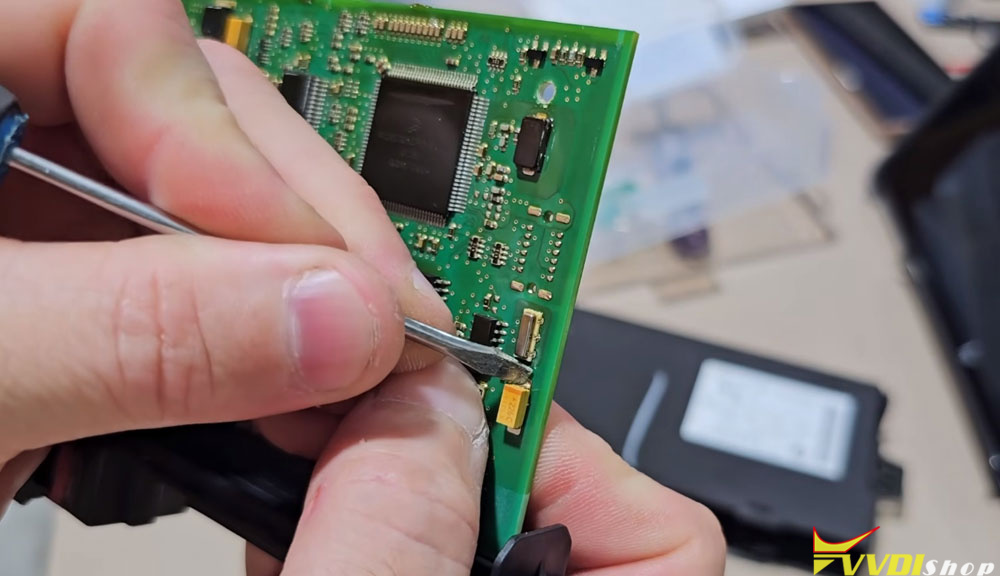
The CAS board is coated with protective lacquer that must be removed from contact points:
Locate the holes needed for the adapter bracket
Clean the pads on the large capacitor
Expose all necessary connection points
Use a microscope to ensure thorough cleaning
Be extremely careful not to damage nearby traces or components
Critical Note: This step requires patience and precision. Damaging circuit traces can permanently ruin the module.

Step 3: Adapter Connection
Proper adapter alignment is crucial:
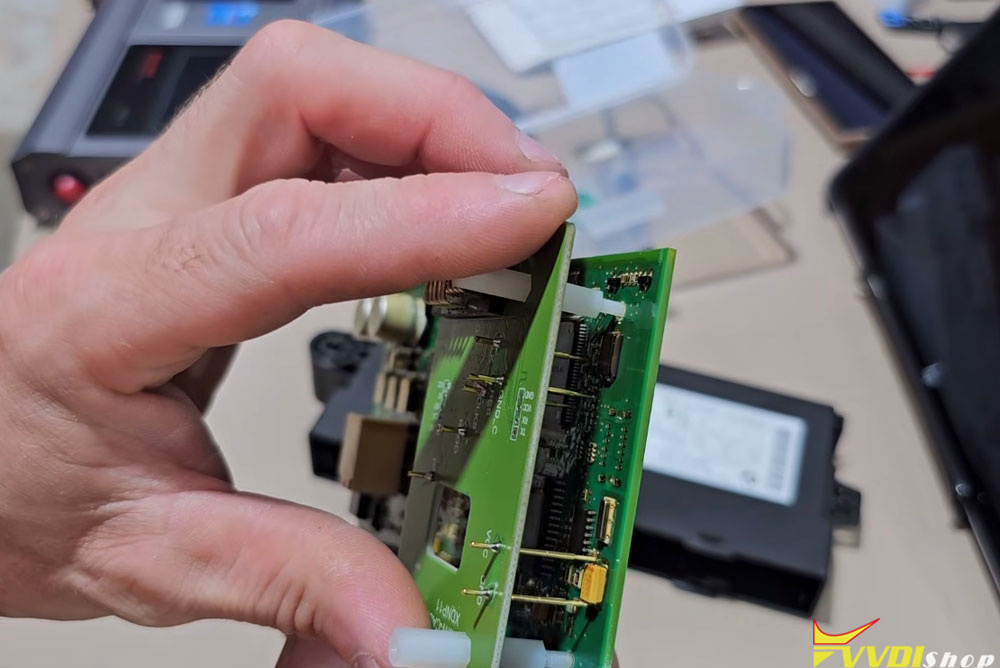
Position the CAS3 adapter on the board
Align the bracket pins with the cleaned holes
Verify all pins make proper contact
Secure with plastic nuts
Double-check connections with extra lighting

Step 4: Reading Original Module Data
With the adapter securely connected:
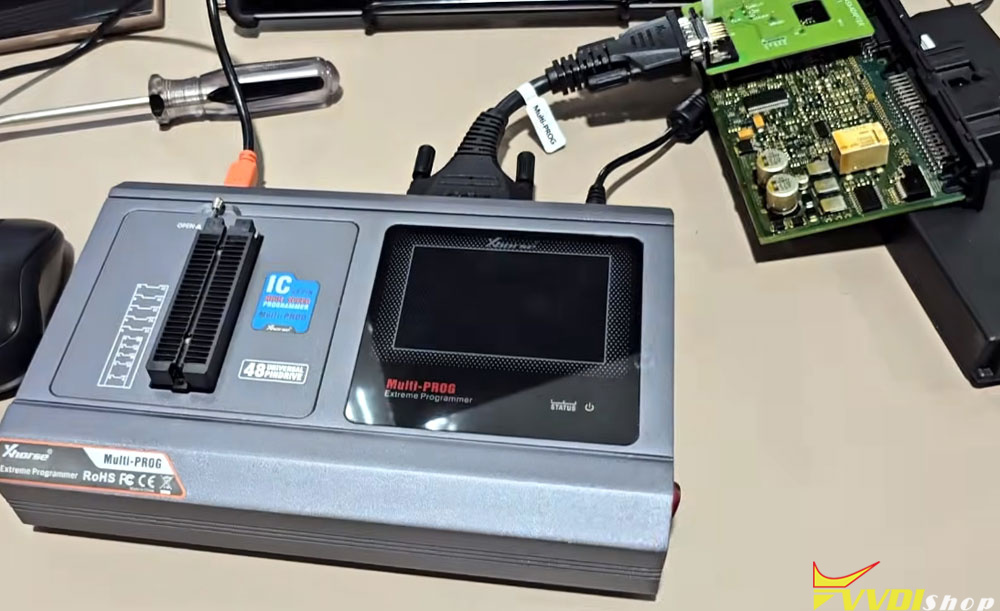
Connect the Multi-Prog interface
Power on the device
Launch the Multi-Prog software
Select the correct processor type (OL15Y)
Use the “Pin Detect” function to verify connections
Read the EEPROM data
Read the Flash memory data
Save both files with clear identification (e.g., “OE adapter EEPROM”)
Important Note: If you see “CAFA CAFA” patterns in the data, you’ve selected the wrong processor type. The interface cannot decrypt the data properly with incorrect settings.


Step 5: Preparing the Donor Module
The donor module requires the same preparation:
Clean all contact points on the donor board
Verify processor type matches the original
Mount the adapter on the donor module
Test connections using the pin detect function
Step 6: Reading Donor Module Data
Before writing new data, read the donor’s existing information:
Read EEPROM data and save it
Read Flash data and save it
This provides a backup and confirms the module is readable


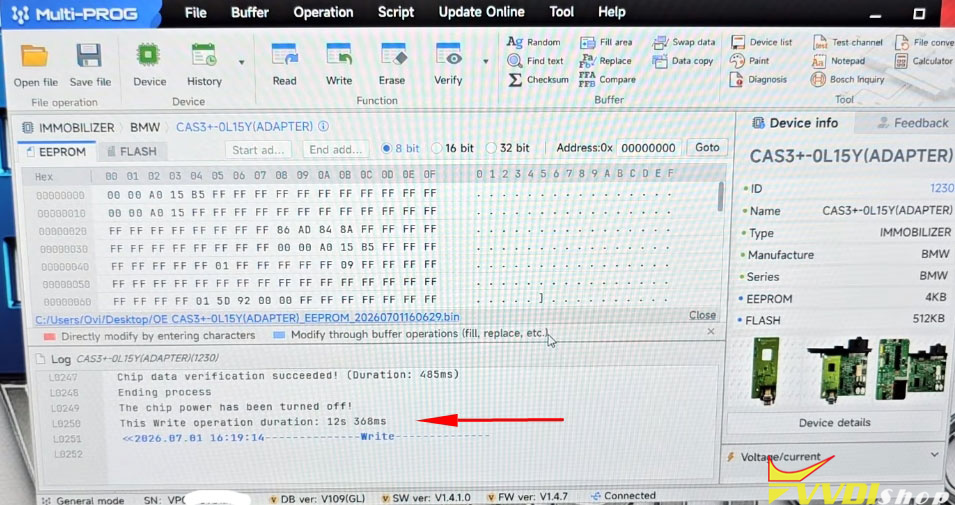
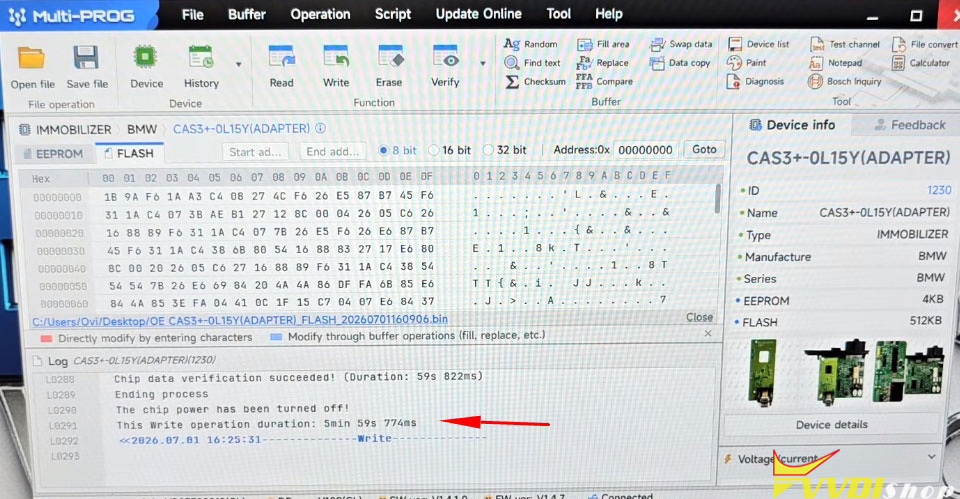
Step 7: Writing the Cloned Data
Now transfer the original data to the donor:
Switch to EEPROM mode
Open the original EEPROM file
Write the data to the donor module (erasing first)
Switch to Flash mode
Open the original Flash file
Write the data to the donor module
The process verifies the written information automatically. Success is indicated by a verification complete message.


Step 8: Post-Cloning Testing
After successful cloning:
Disconnect the programmer
Remove the adapter board
Place the cloned module on the test bench
Connect power supply
Test ignition cycling
Use diagnostic tools to verify functionality
The cloned module should now:
Switch ignition on and off reliably
Show the original VIN number
Clear all fault codes
Maintain stable terminal voltages
Function identically to the original
Important Considerations
Donor Module Quality
When purchasing donor modules, be aware that they may have similar issues to your original. A damaged donor might work temporarily before failing again. Always test thoroughly before relying on a cloned module.
Professional Tips
Organization: Mark modules clearly to prevent writing data to the wrong unit
Cleanliness: Proper cleaning of contact points is essential for successful reading/writing
Patience: Rushing the process leads to errors and potential damage
Verification: Always verify connections before attempting to read or write
Backup: Save all original data files before making any changes
Diagnostic Tools
While ISTA (BMW’s factory diagnostic software) can be used, bench tools like the Xhorse Multi-Prog are far more practical for this type of work, offering direct module access without the complexity of emulating a complete vehicle system.
Conclusion
BMW CAS3+ cloning is a delicate but straightforward process when proper tools and techniques are used. The key to success lies in careful preparation, precise connections, and methodical execution. While the process appears complex, following these steps systematically will allow you to successfully clone CAS modules and resolve BMW access system failures.
The ability to clone these modules professionally is invaluable for automotive technicians and enthusiasts dealing with BMW immobilizer issues. With the right approach, you can restore functionality to faulty CAS systems without expensive dealer interventions.
Remember: Always prioritize careful handling of circuit boards, verify your connections, and maintain organized files throughout the process. The investment in proper equipment and attention to detail will pay off in successful, reliable repairs.

No comments:
Post a Comment
Note: Only a member of this blog may post a comment.